Setup AWS Elastic Beanstalk
ArticleThis article is related to talk I gave 15th of November 2016 at LRUG (CodeNode Skills Matters London)
It will show you how to set up AWS products for demo application which source code can be found here: https://github.com/equivalent/docker_rails_aws_elasticbeanstalk_demmo_app
Create an account and Log in to https://aws.amazon.com/
Step 1 - Generate SSH key
Go to EC2 product and generate SSH private key via EC2 Key Pair tool. This will be need for our EC2 instances once they are runnig so that we can SSH to them.
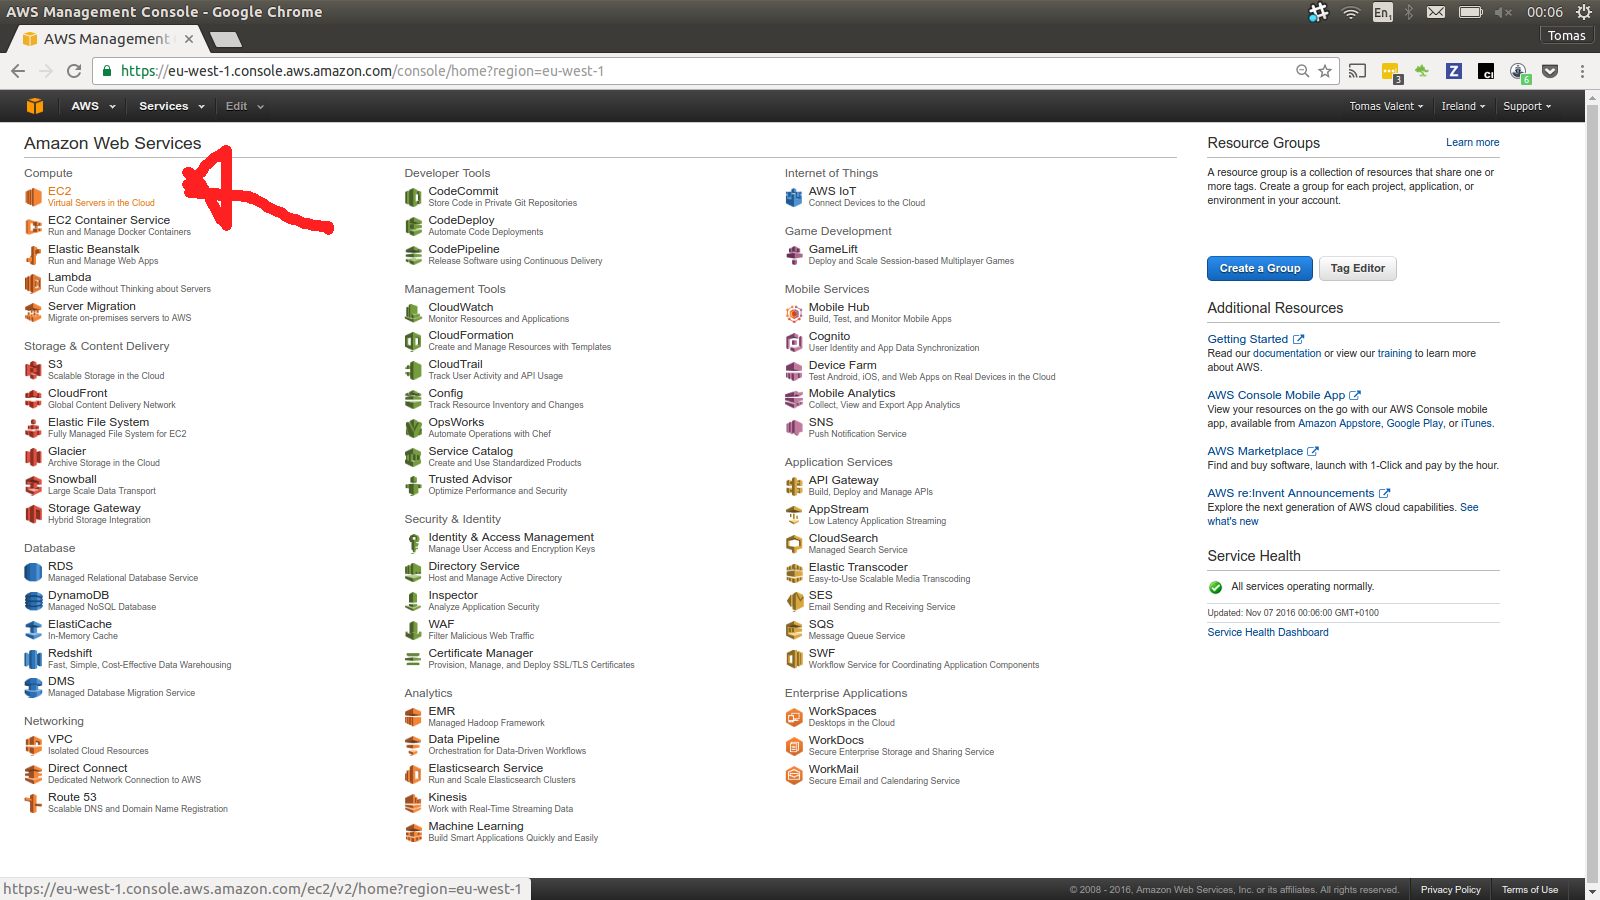


Be sure to save the ssh private key (Puppies.pem) to a sefe place. You
will need it in a futer to ssh to the servers.
Step 2 - Step 2 - Testing Security Group
This step is optional if you know what you are doing.
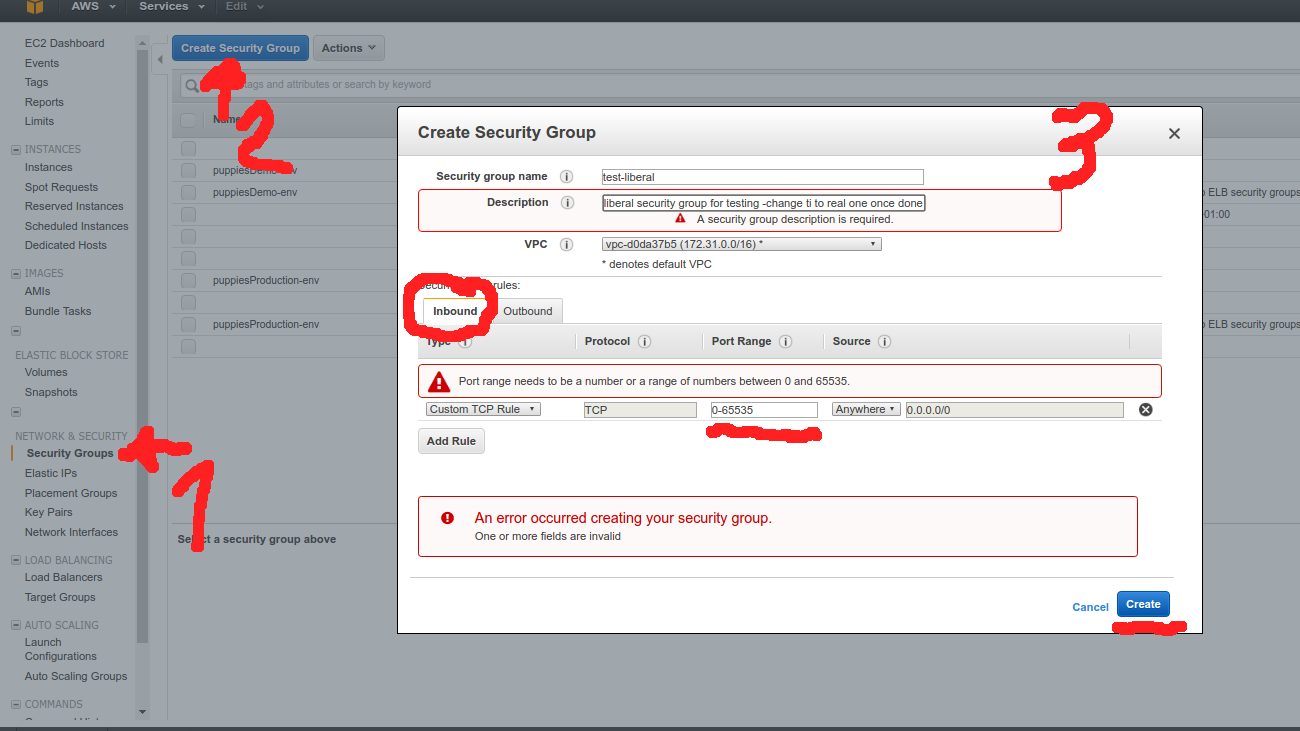
AWS Security Groups are basically firewall rules that disable everything by default. We will create a Dummy Testing Security Group called “test-liberal” to allow all ports from all IPs (just for Demo)
Now please be sure you you set up correct firewall rules for a real app once you’re done. (e.g. only inbound ports that are needed for given service, ssh only from your IP, …)
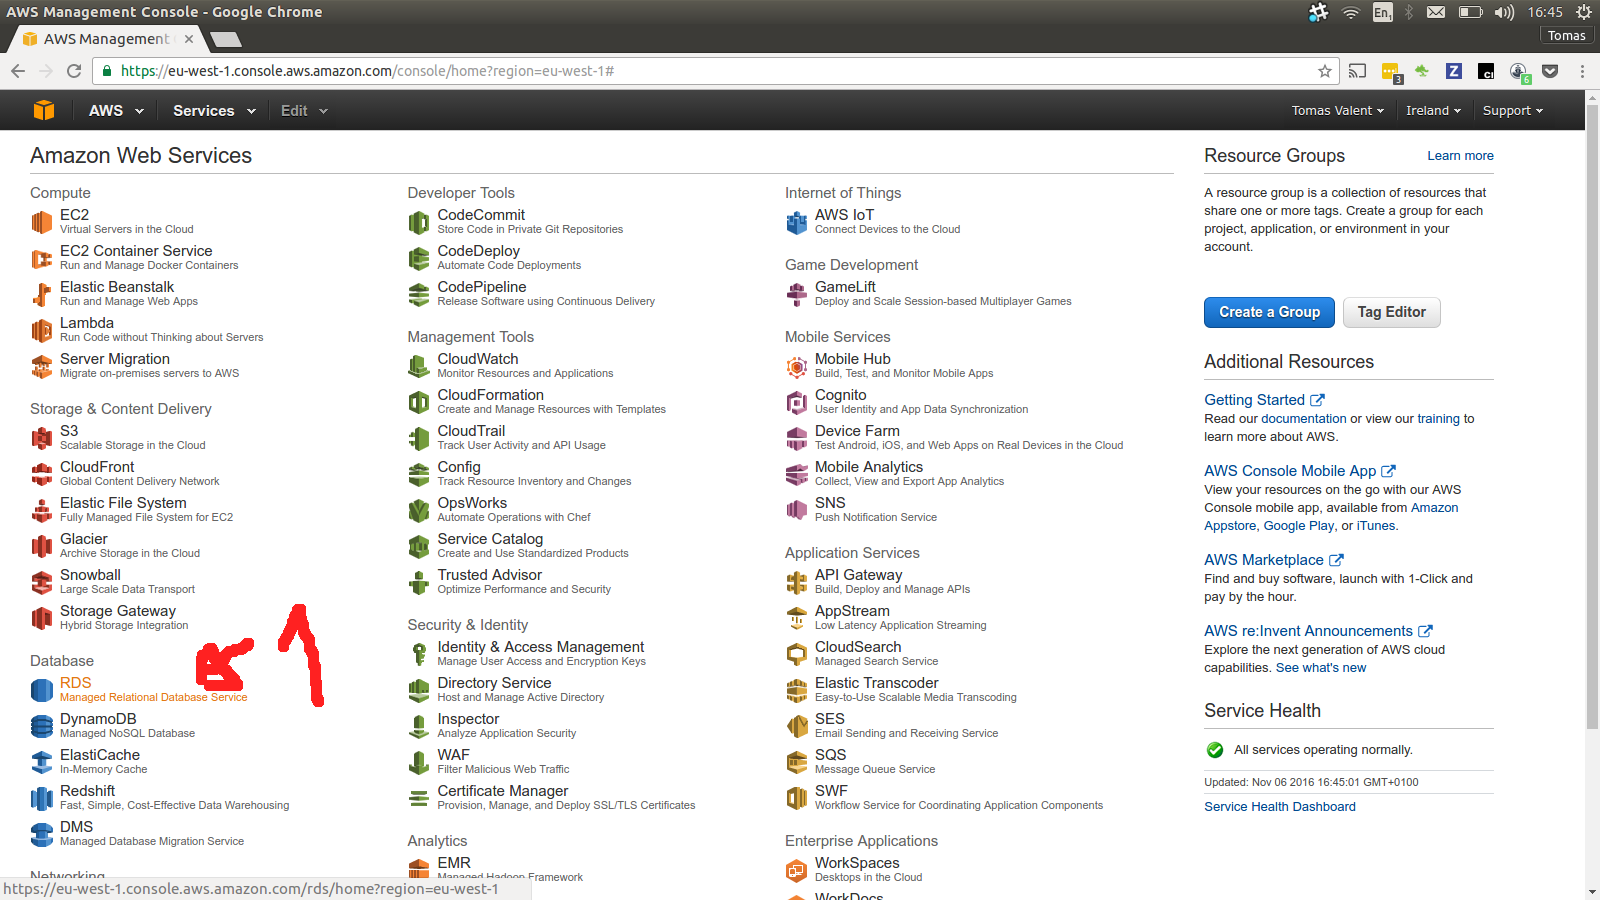
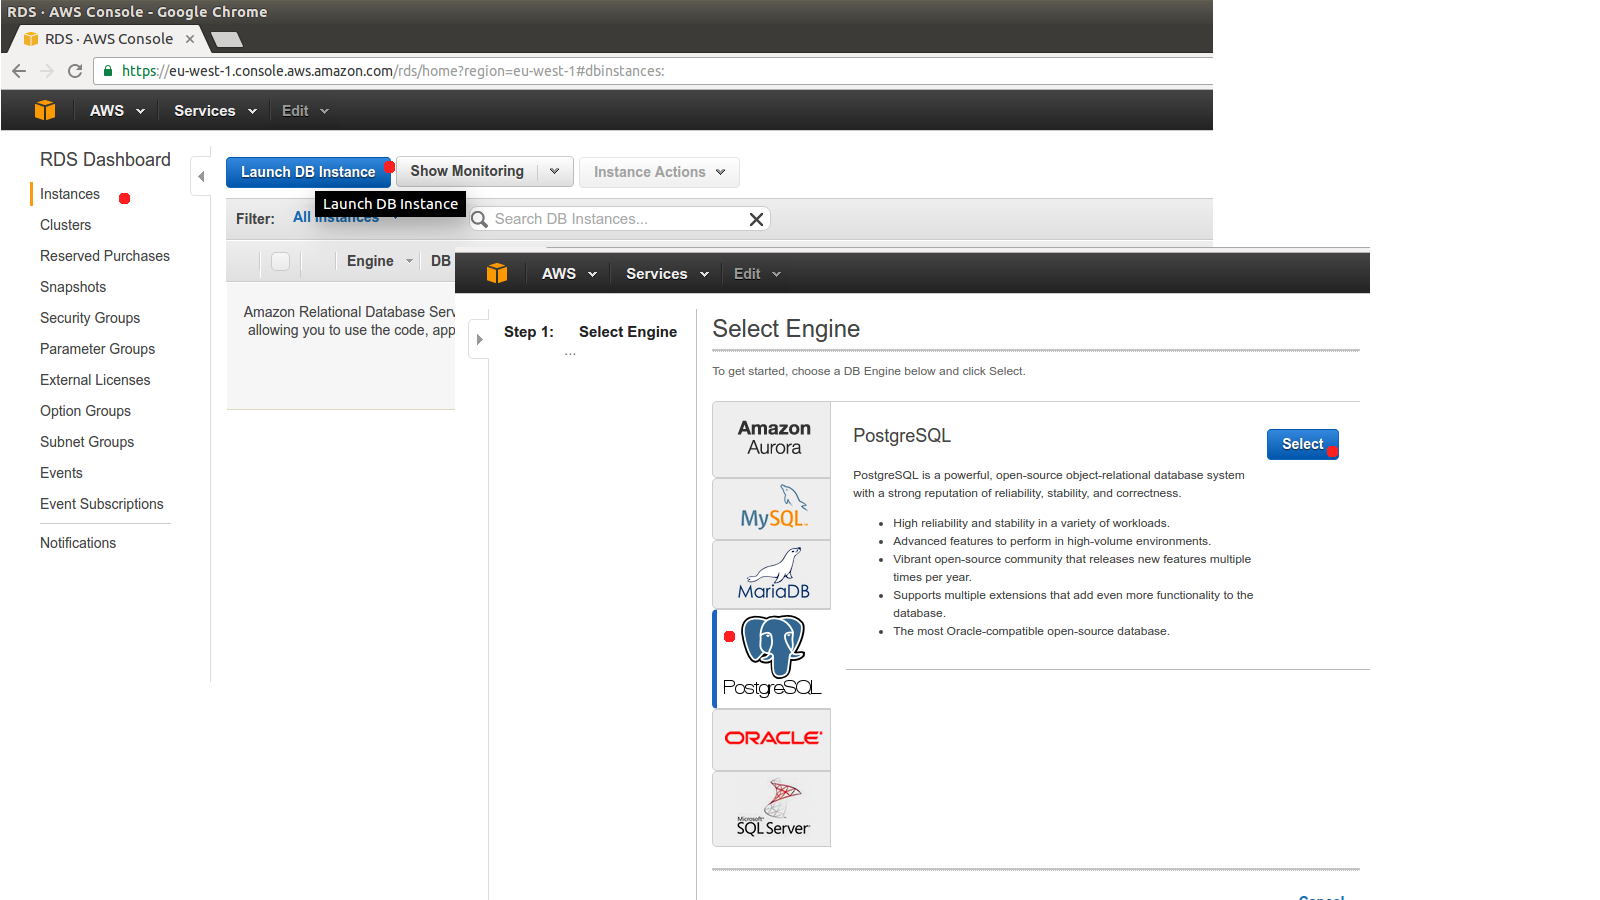
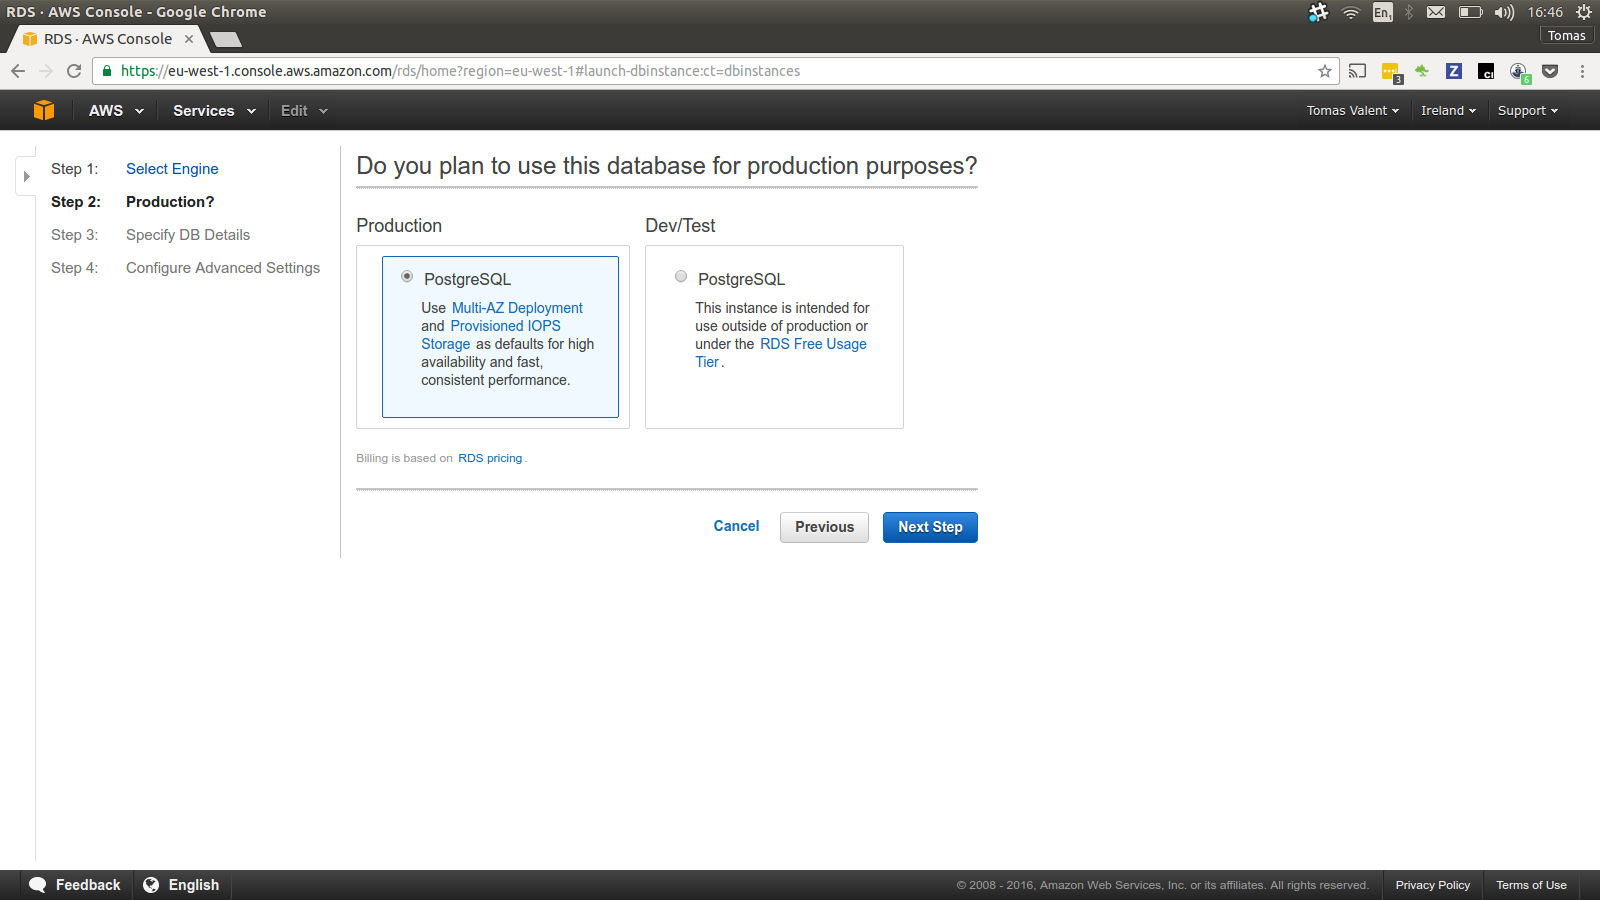
Step 3 - Create RDS database
Now we will set up our PostgreSQL database via AWS RDS product.
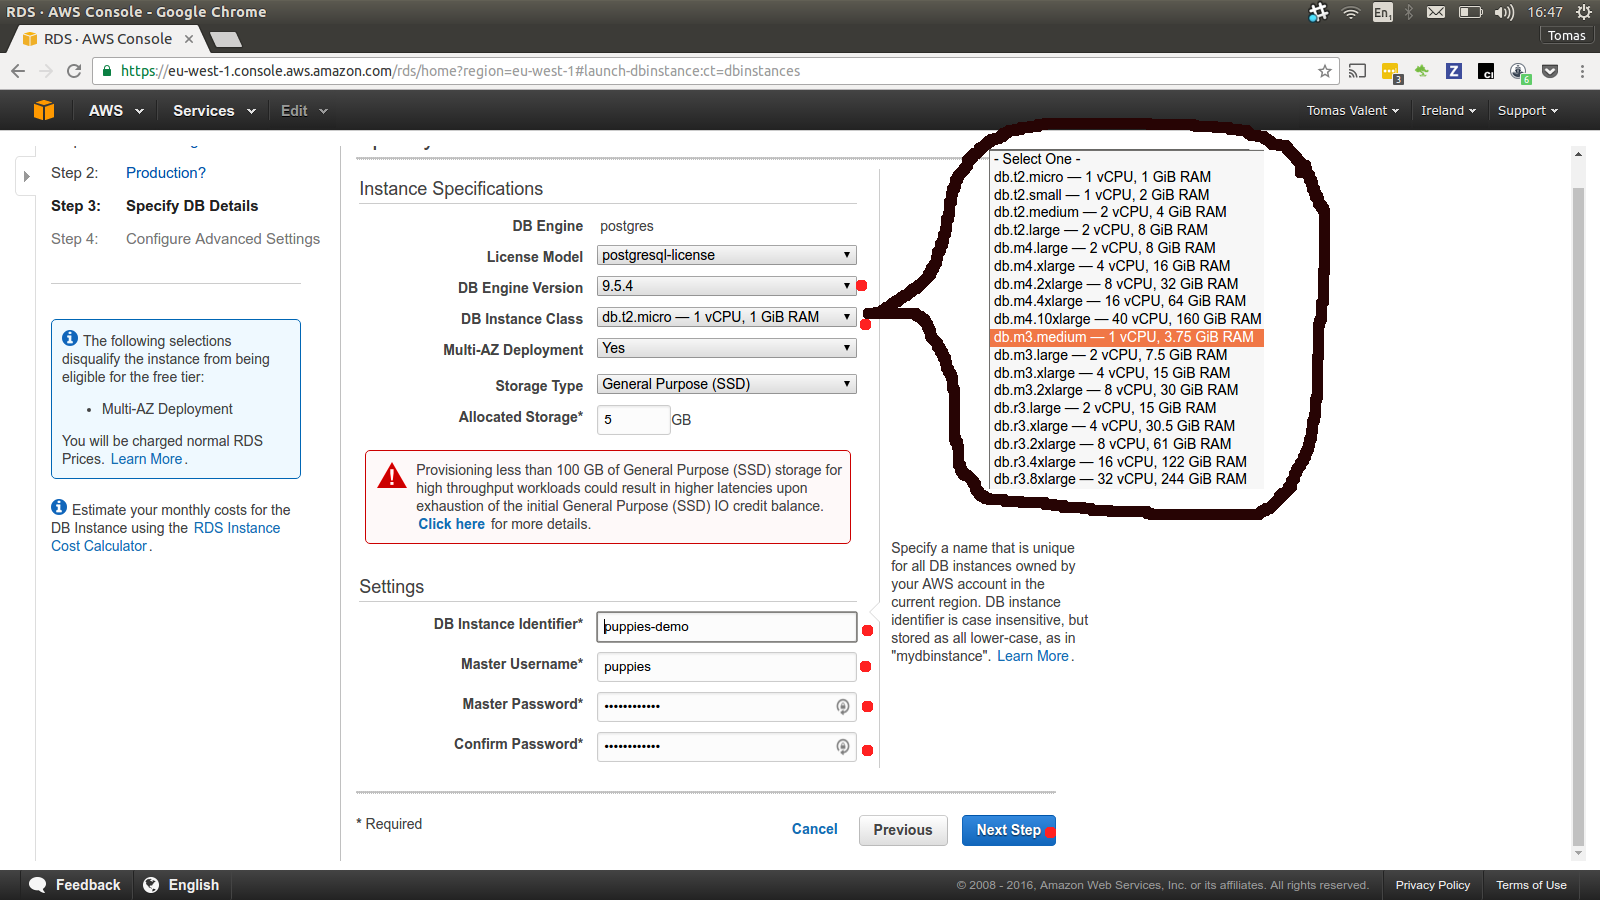
Choos database username, password and instance type.
We are choosing micro instance as it’s cheaper, but if you are doing
this for a real product I would recommend m3.medium for medium size
project.
You can read about different types of instances here https://aws.amazon.com/ec2/instance-types/
Be sure o use our test-liberal security group.
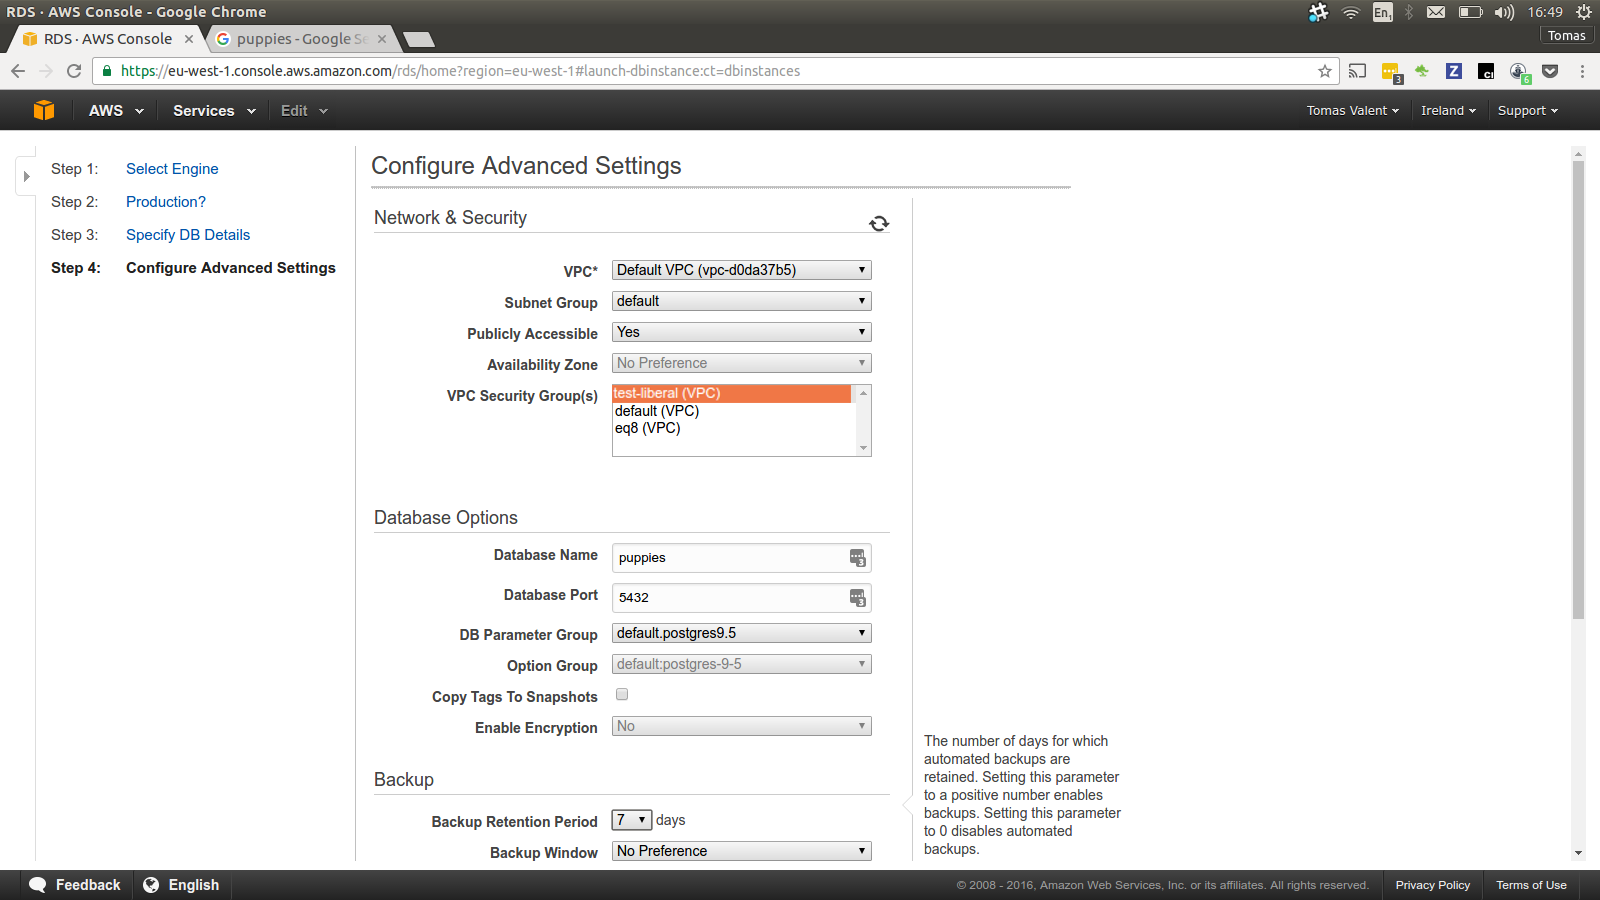
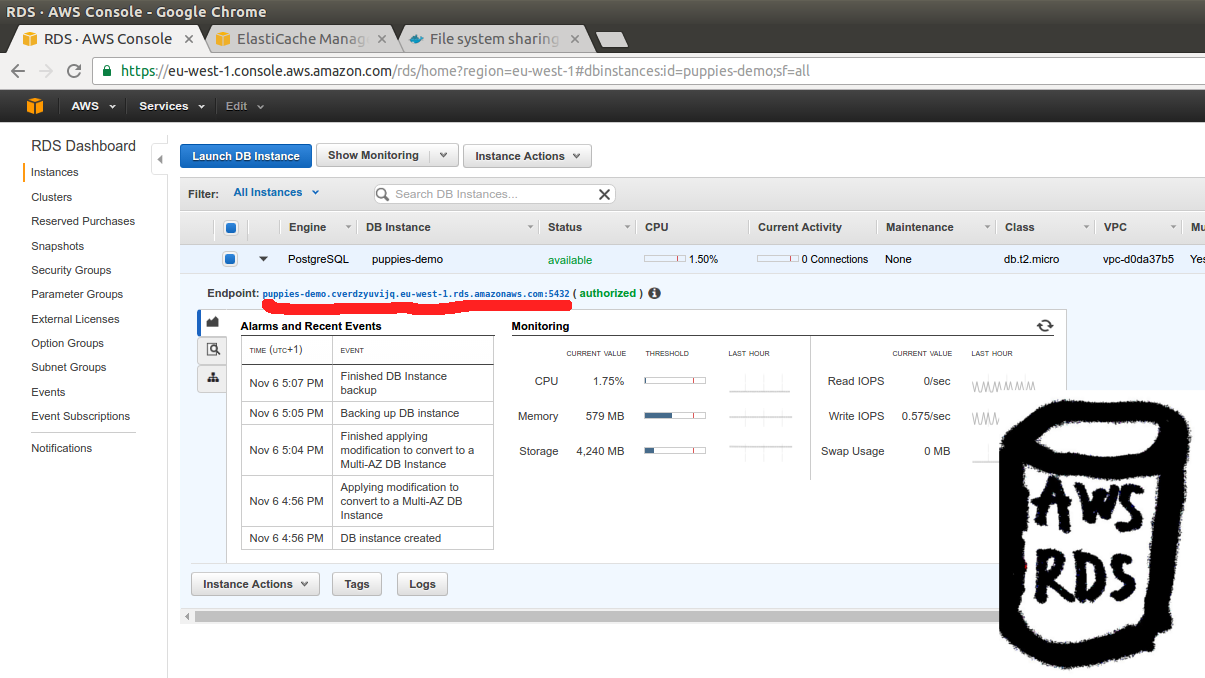
Later on we will use this “Endpoint URL” via Enviroment
Variables ENV['REL_DATABASE_HOST'] in our Rails app.
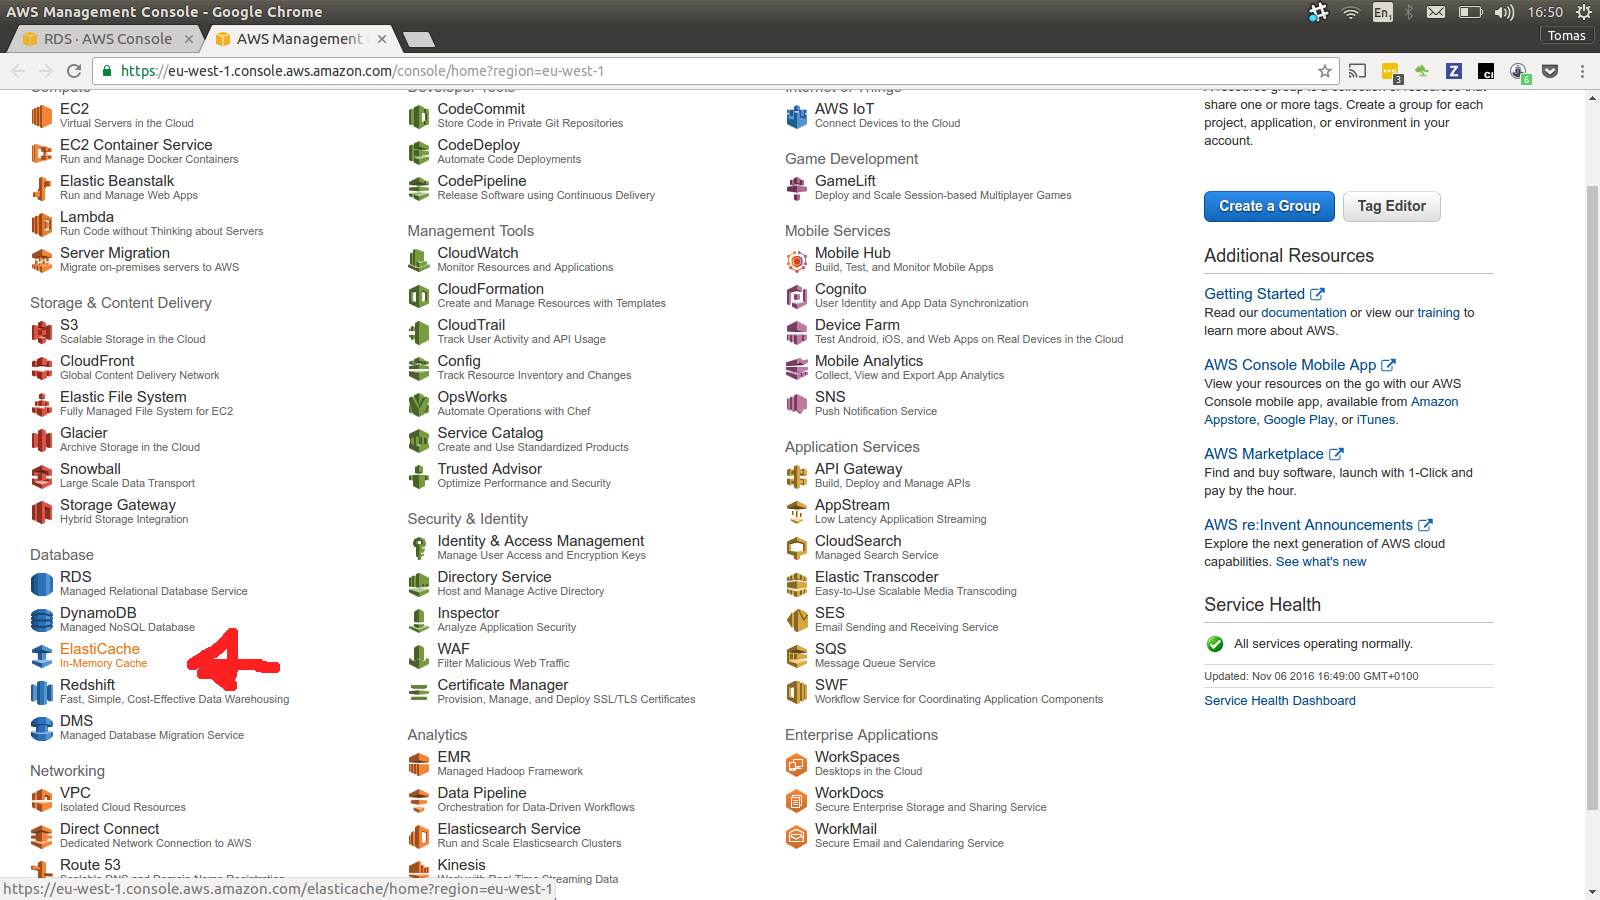
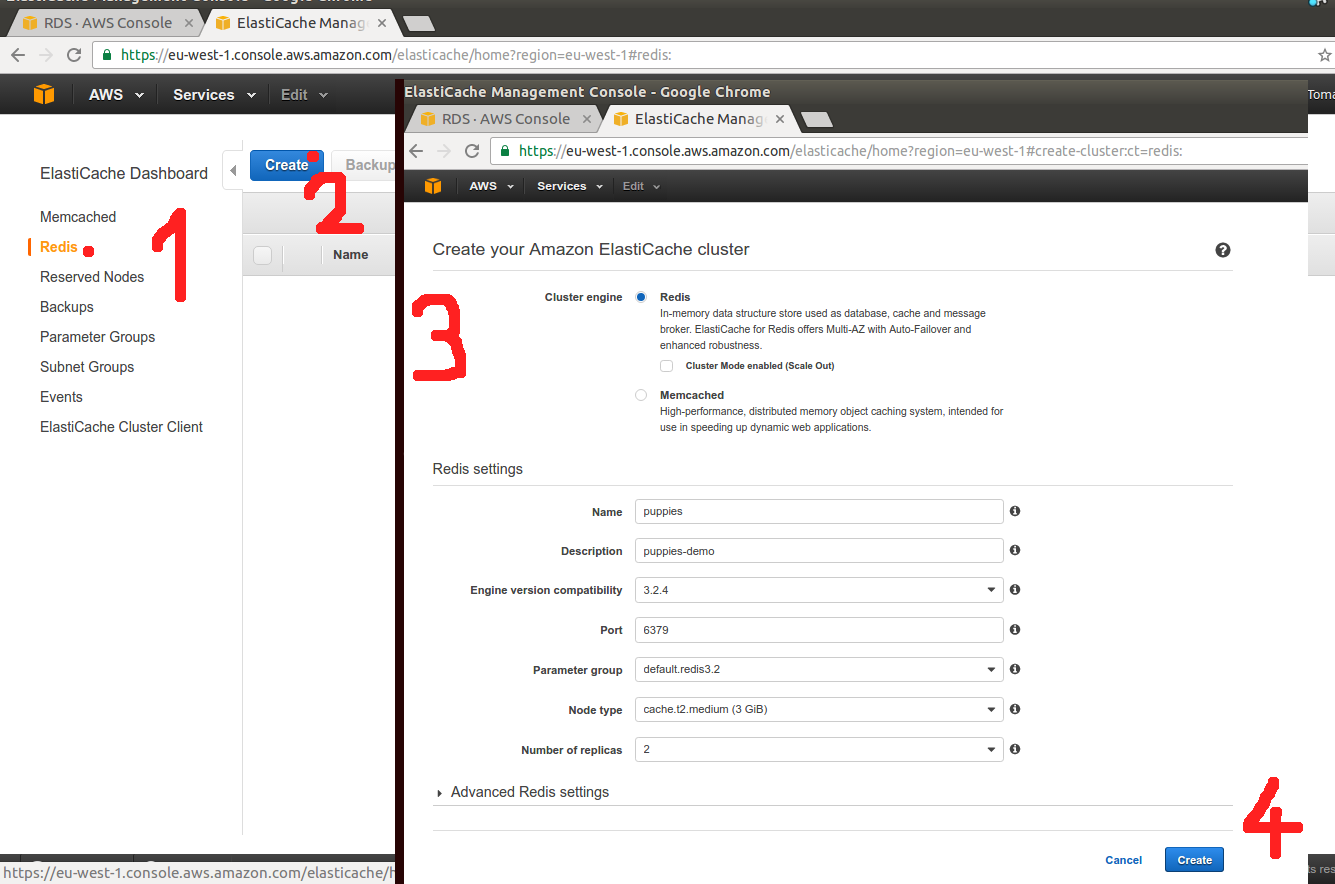
Step 4 - Create ElasticCache Redis cluster
Same as in RDS setup be sure to use our test-liberal security group
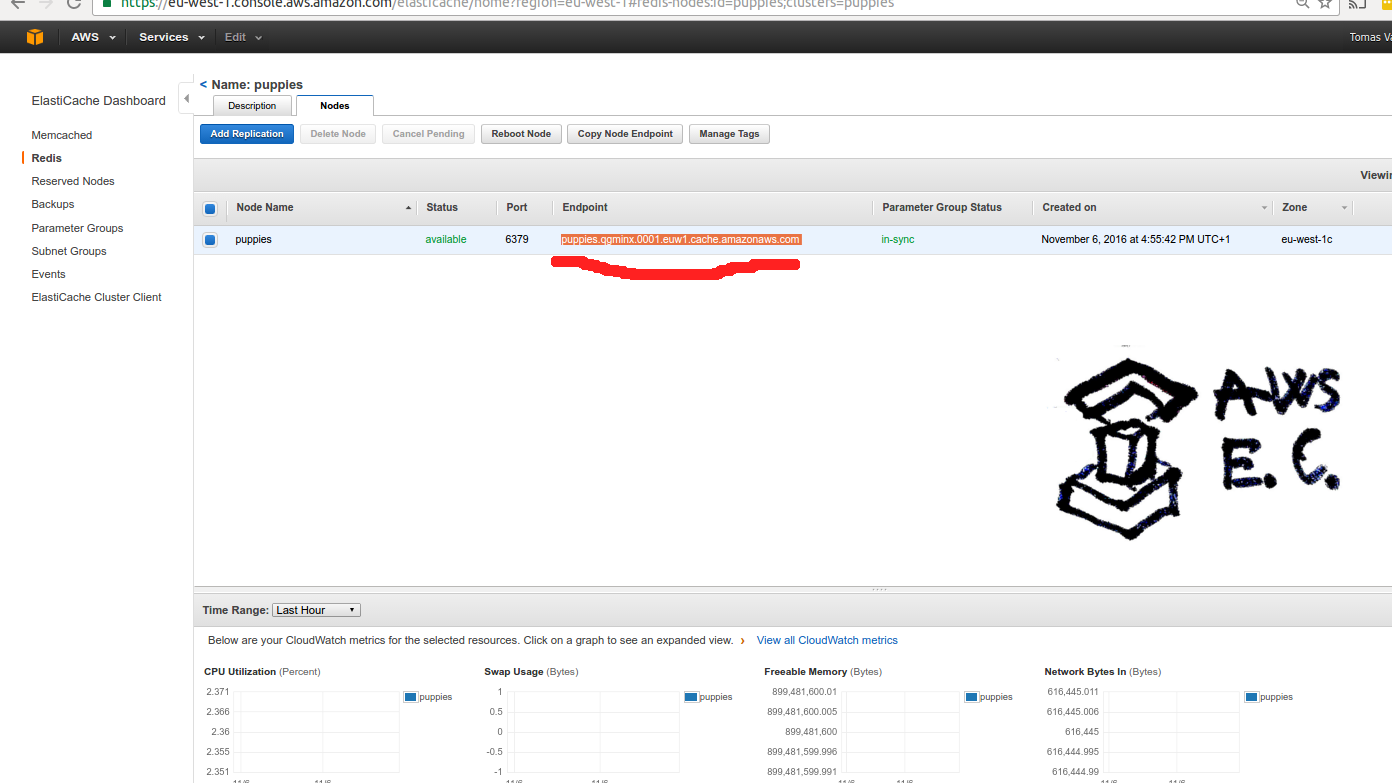
and we will use the endpoint url as ENV['REDIS_HOST'].
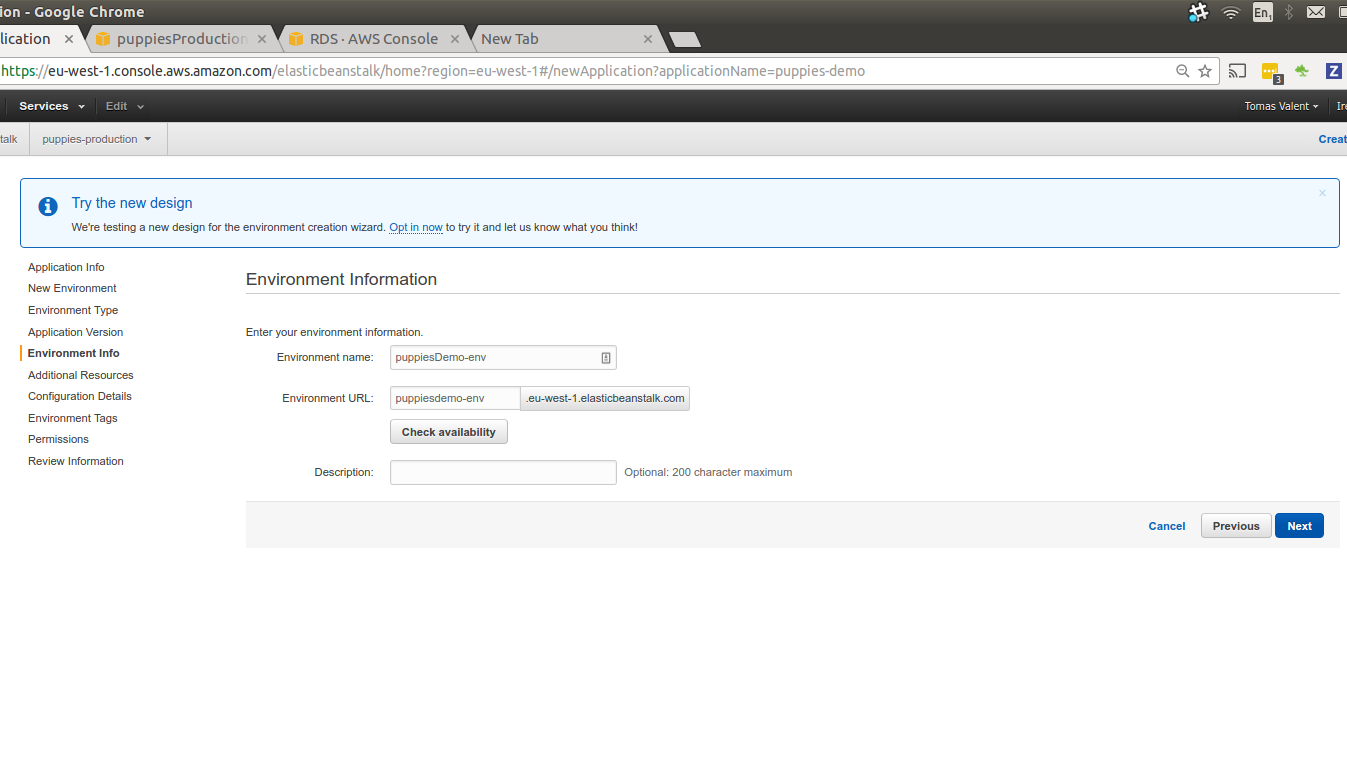
Step 5 - Create ElasticBeanstalk Environment
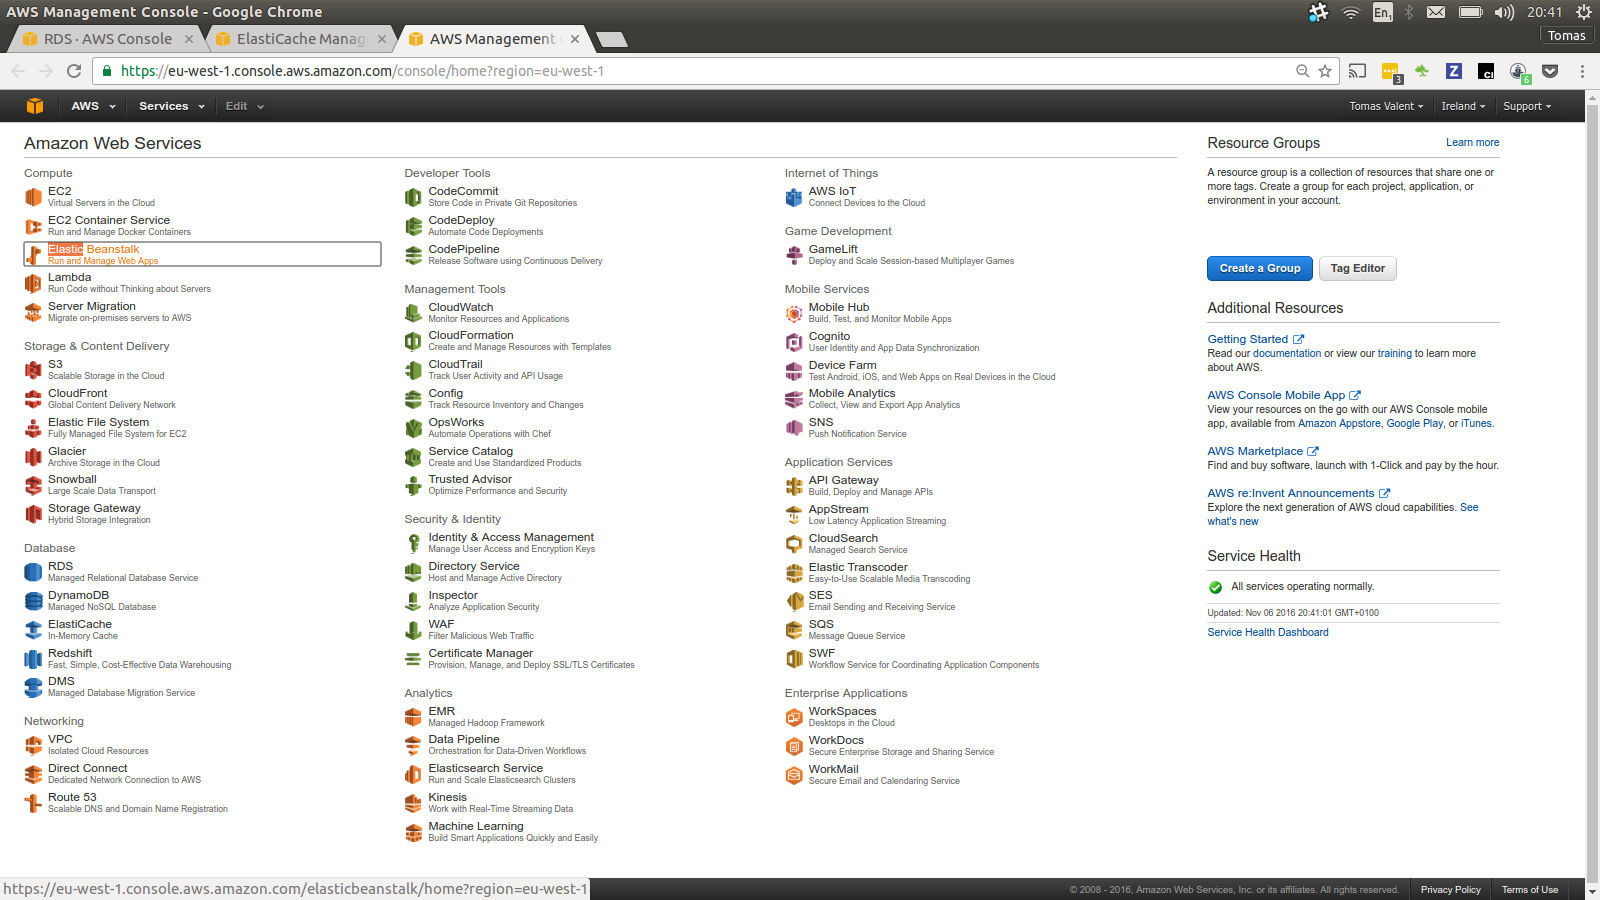

We want to use WebServer Environment.
In our demo app even the BG worker Docker container will be running as part of it. Feel free to extract BG worker to own environment if you choose so.
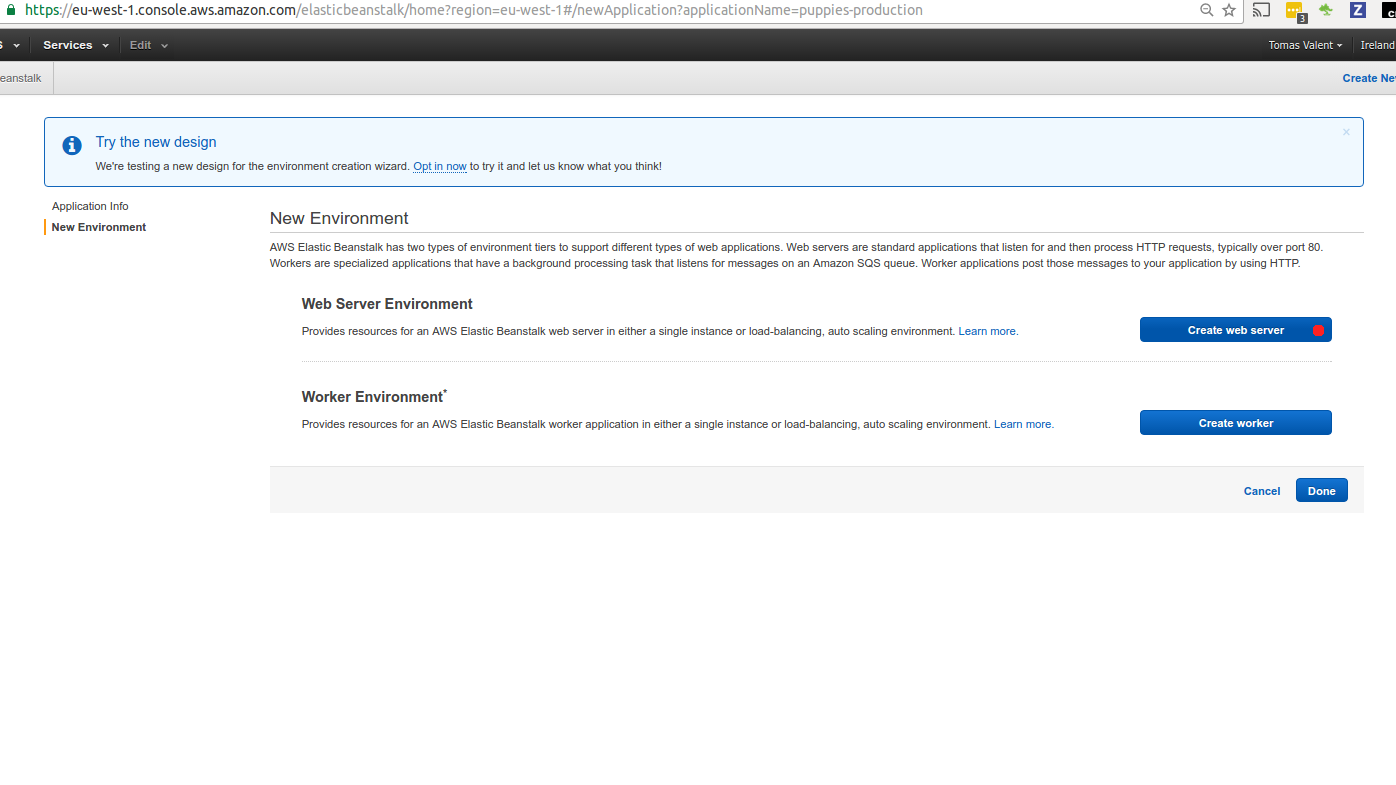
We want to demonstrate the loadbalanced enviroment -> we can introduce more EC2 instances if load is higher.
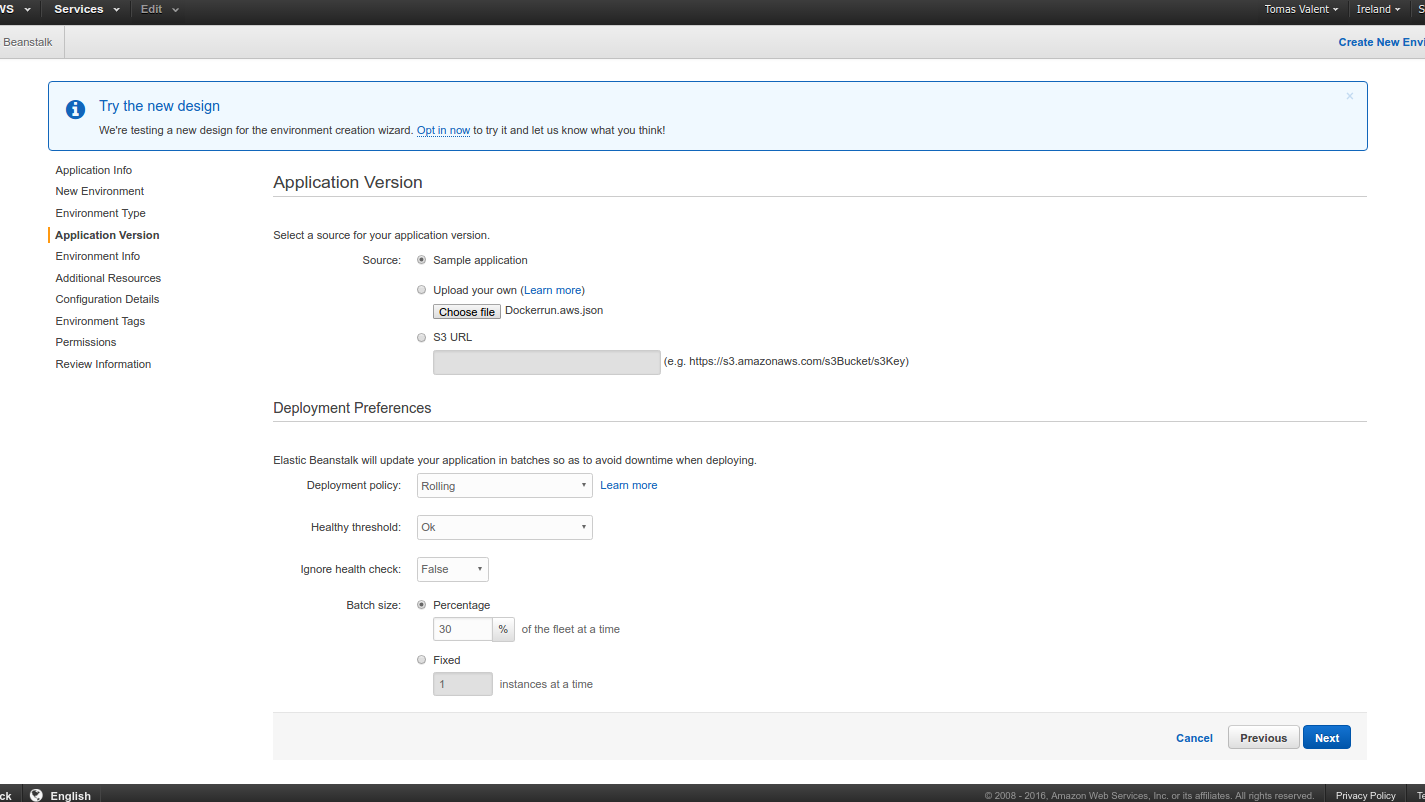
You can use “Sample Application” which is just a Dummy Application from
AWS EleasticBeanstalk. But you can choose to upload the Dockerrun.aws.json to it
which will basically deploy or demmo application
In future you can point your real domain (e.g. www.pupies.com) to this elastic beanstalk URL via CNAME rule.
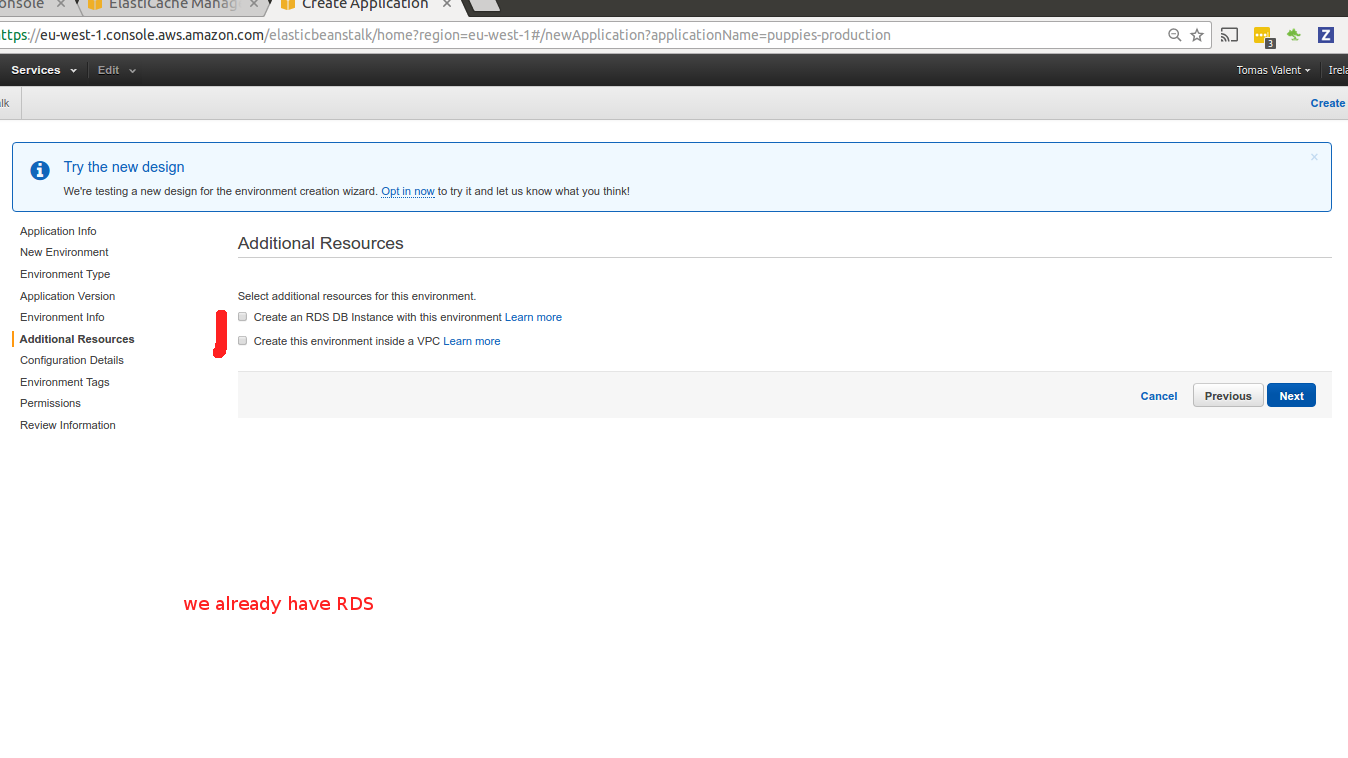
You don’t need to create RDS, we just done it in prev. step.
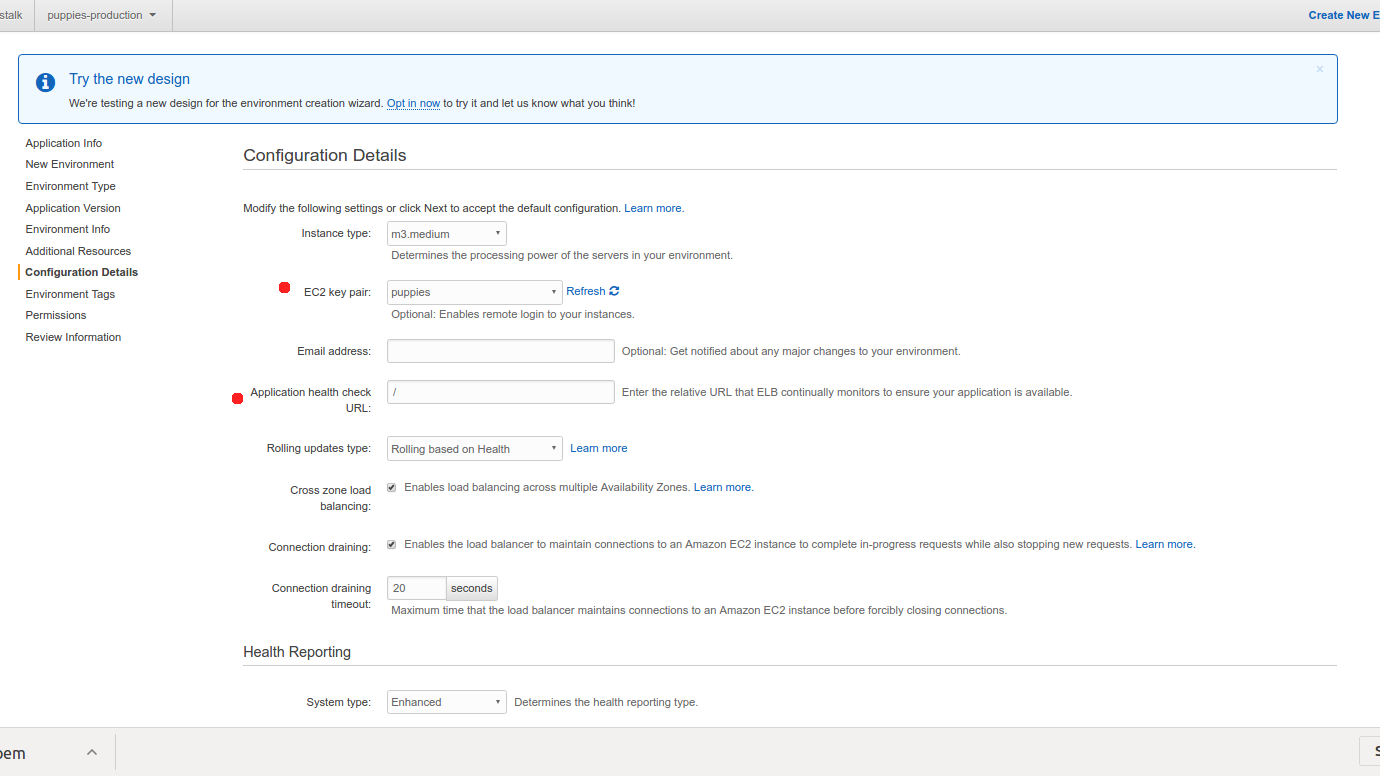
Choose our key pair from step 1. ElasitcBeanstalk will configure EC2 instances so that all current and even newly introduced will have our SSH Key.
Health Check is also important. Be sure to pint it to url that responds with non error status code (so something that responds 200). this is needed as LoadBalancer will not direct responses to your EC2 instance if they are not “healthy” (if they don’t respond to healthcheck endpoint requests)
For the demo application be sure you choose at least m3.medium or t2.medium instance, otherwise you may not have enough memory on your instance.
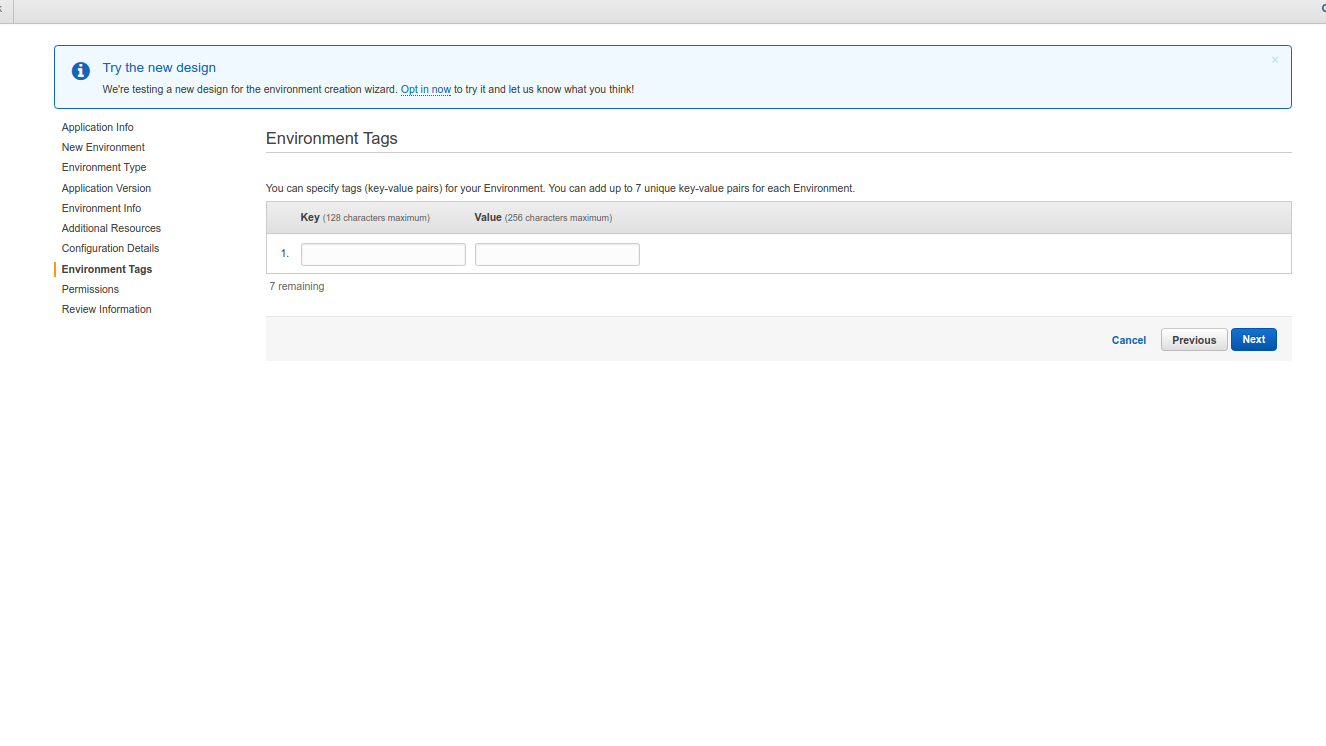
Tags are just for you. No need to fill them.
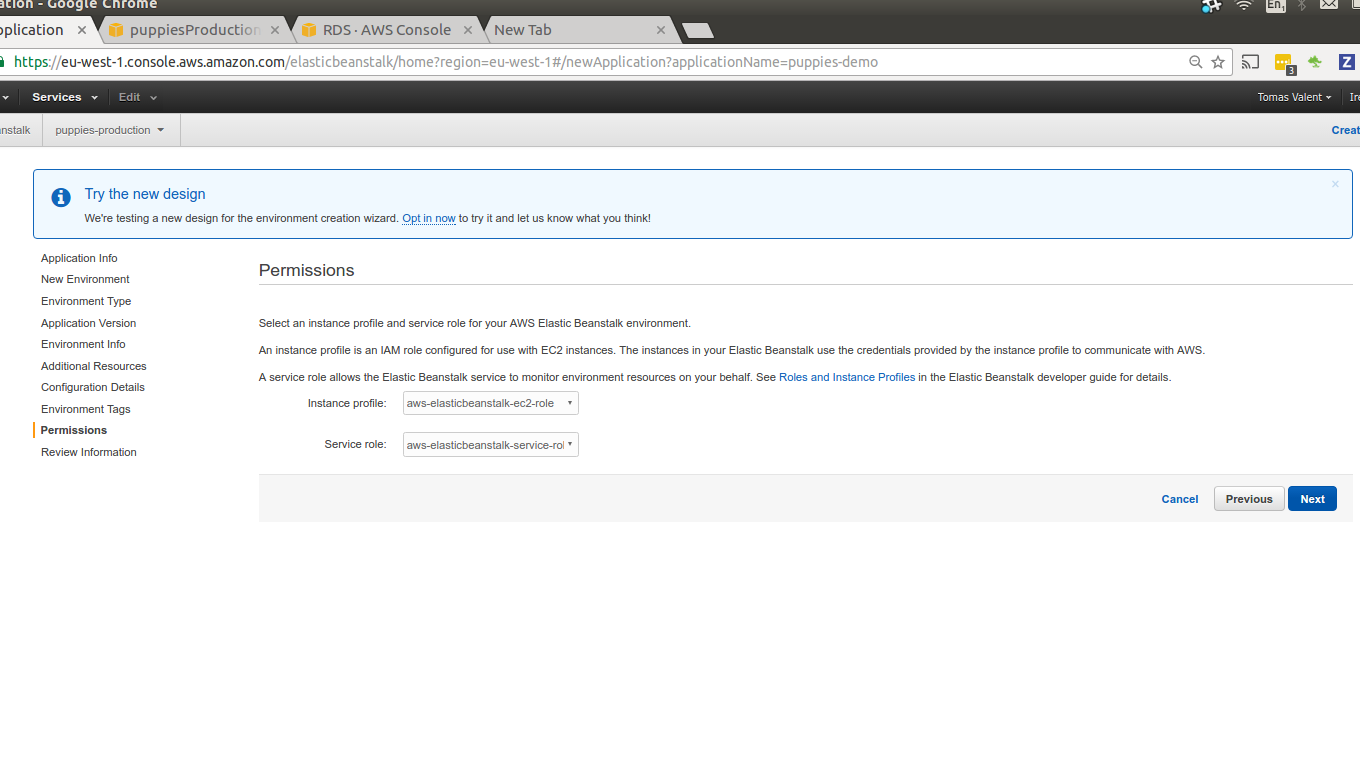
You can leave the Permissions on whatever EB sets by default.
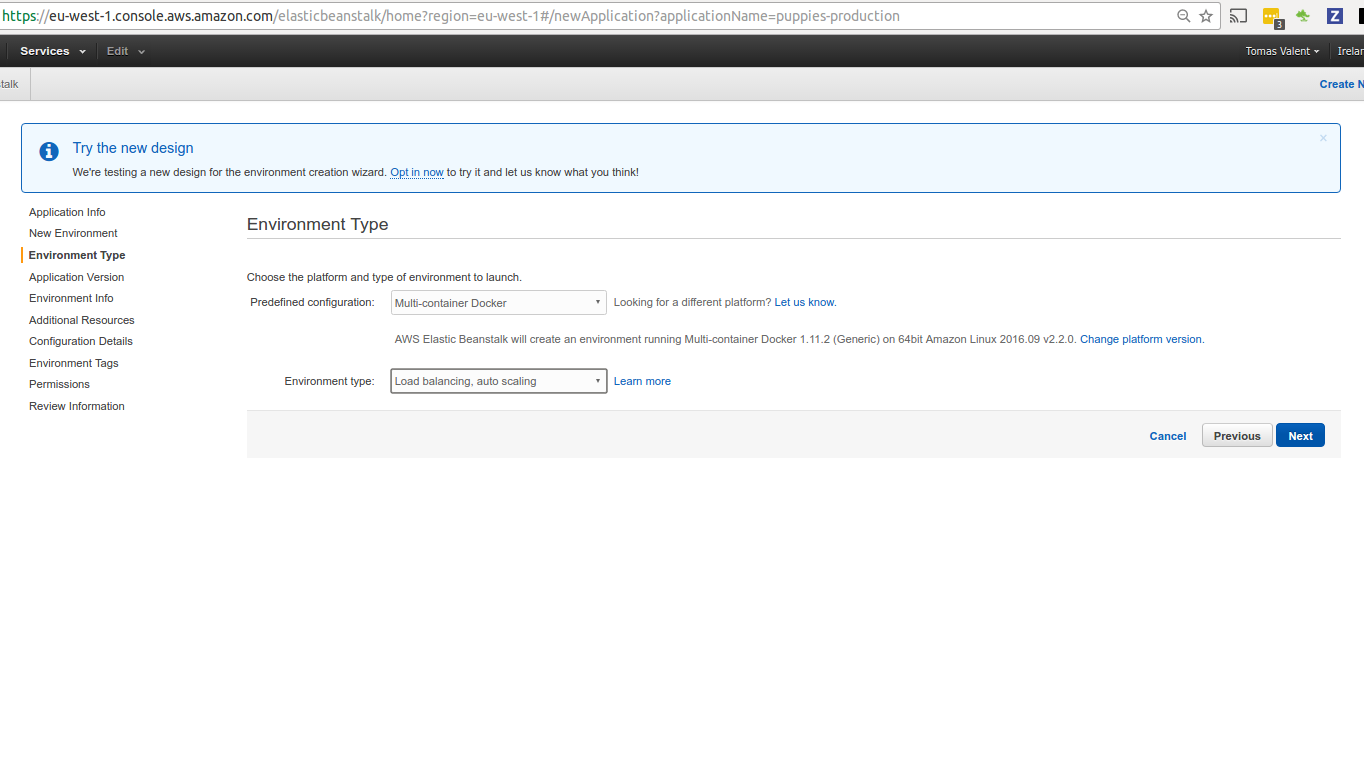
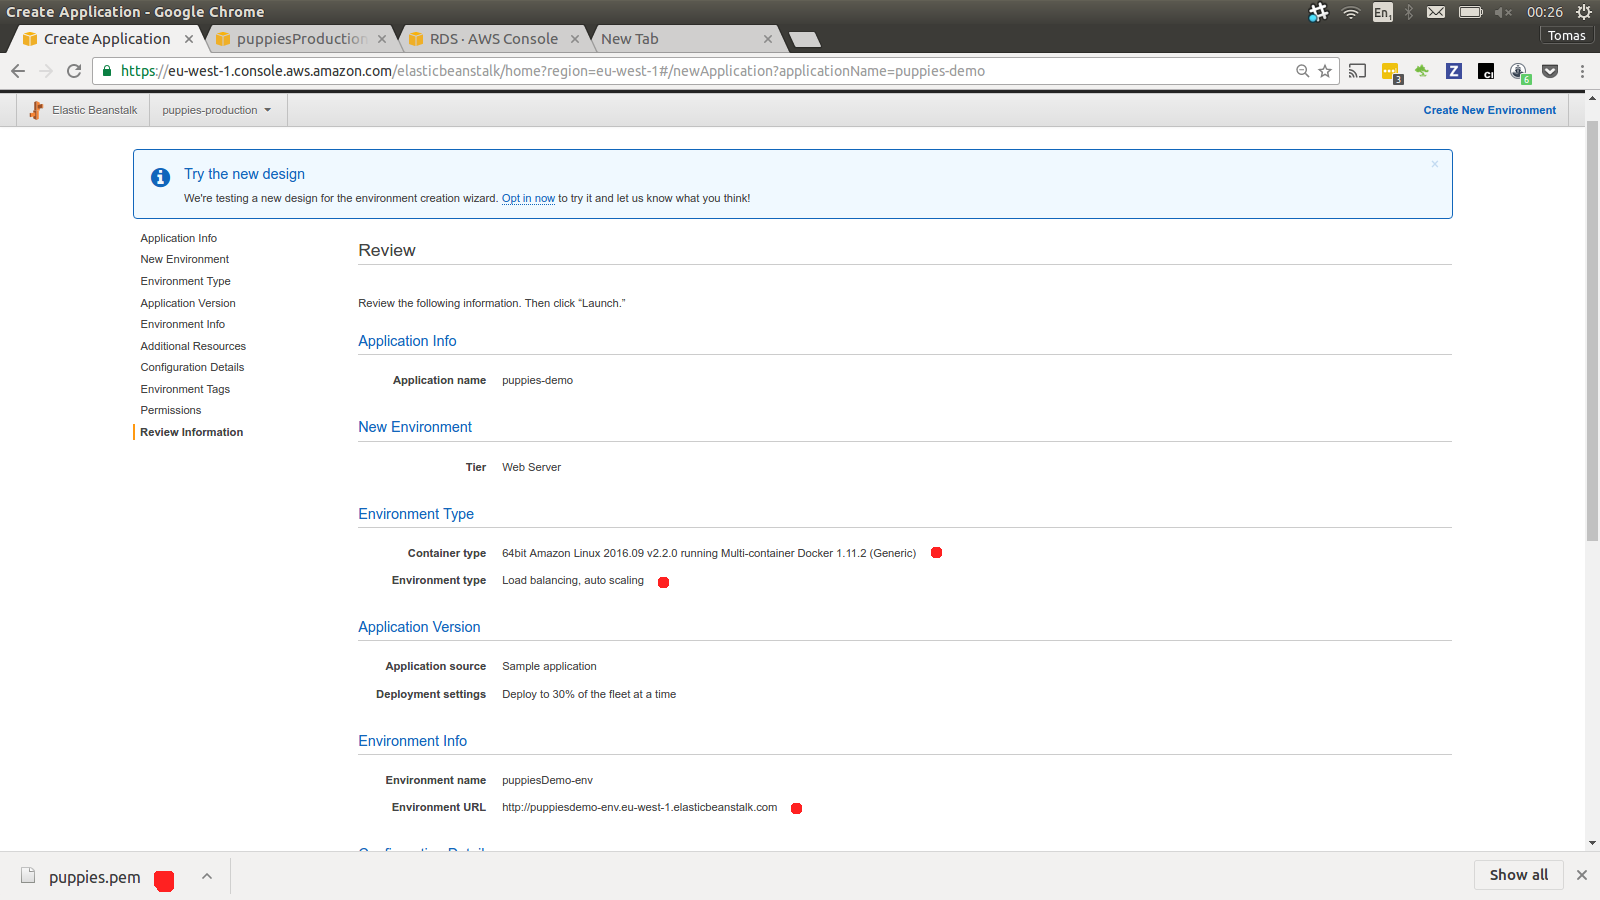
So one more time check if your setup is correct. As we can see we are introducing Multicontainer Docker, EC2 instances in load balanced enviroment.
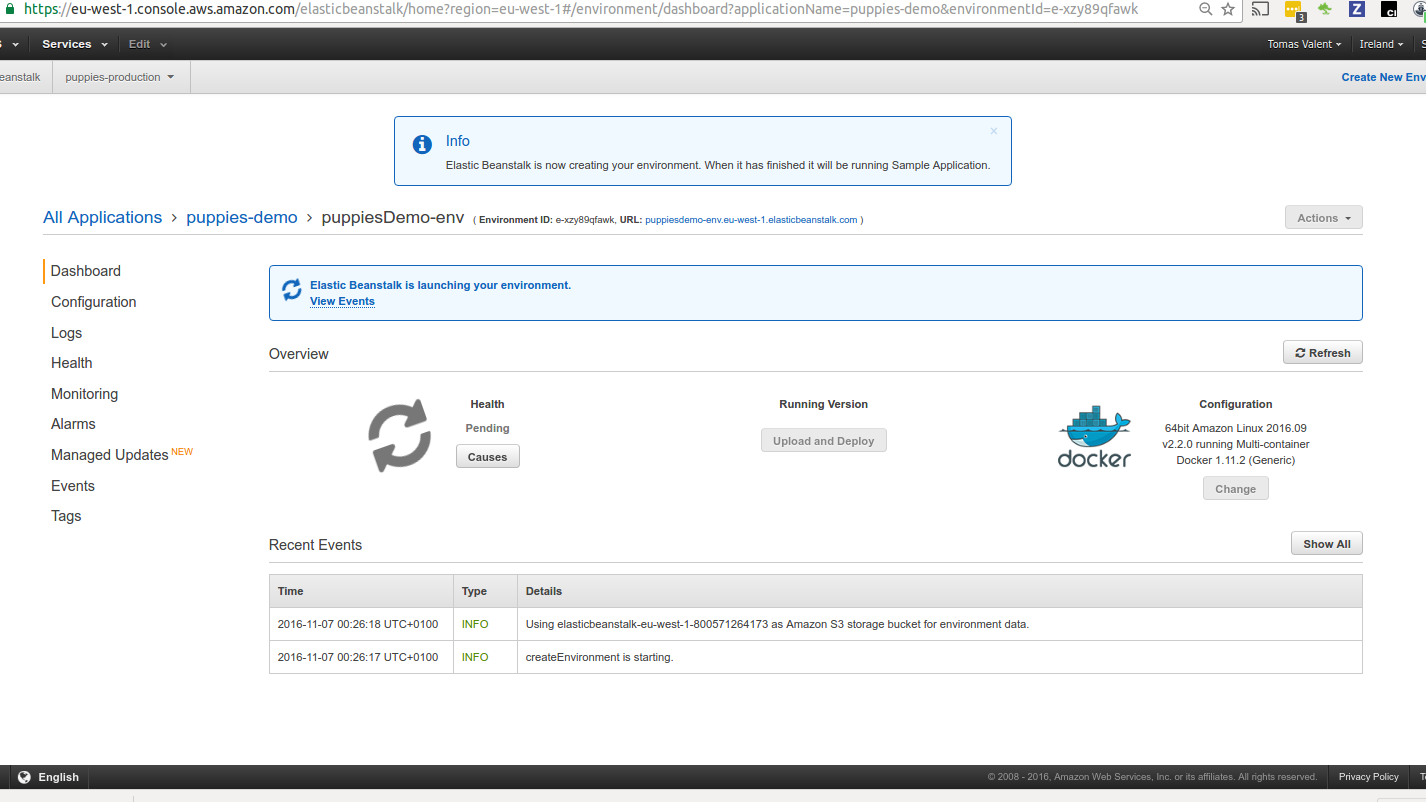
Environment creation will take some time
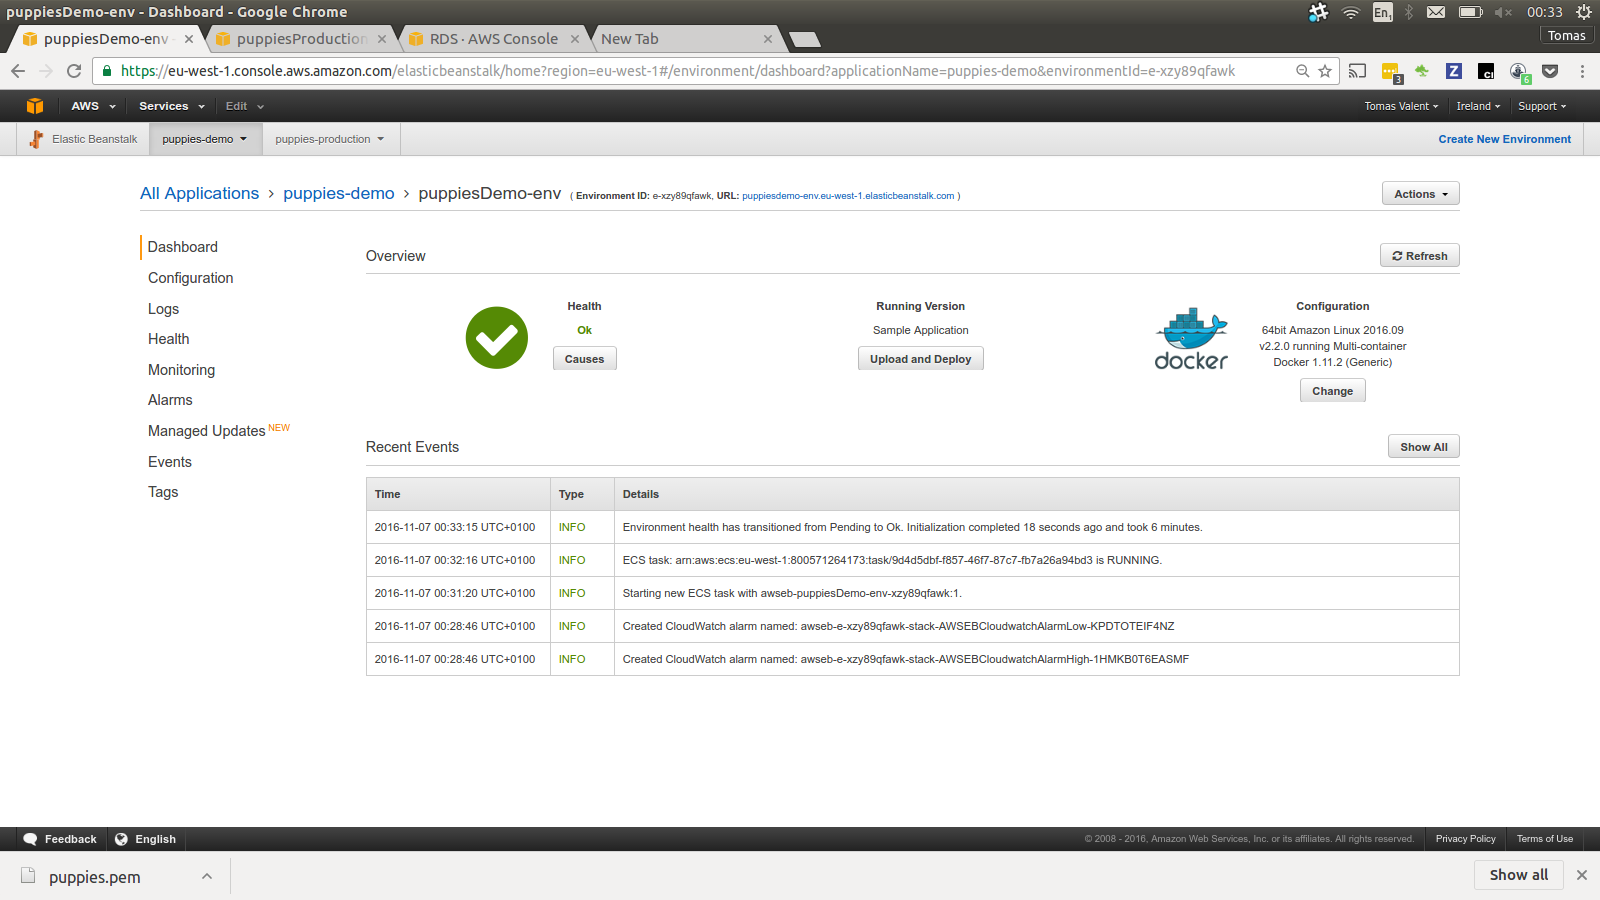
But once done our application should be accessible from Elasticbeanstalk URL
Related Articles
Entire blog website and all the articles can be forked from this Github Repo